The first PUFFIN Library Lab in July was the brainchild of my LPL colleague Lindsay. It was a cross-department program, and she rocked it!
You know what? I'll just let her tell it. I'll even let her call me by my legal name because what type of jerk changes their first name when they get married for Internet purposes and doesn't tell anyone IRL about it. I mean, honestly. I'm the worst. --Bryce
Hi, everybody! Lindsay the Technology Librarian, here. Last month, Sara and I ran a super fun light painting program for elementary school aged kids. I first learned about light painting at an ILEAD conference last year, where I saw a couple of librarians testing it out. The idea percolated in the back of my head until Sara invited me to join the Fizz Boom Read fun this summer. As a kid, what could be more fun than standing around in a dark room waving flashlights around while your picture is taken? Sara agreed, and the fun began.
This might be a good time to point out that I've really
mostly worked with adults over the past 7 years. I teach adult computer classes
and do adult Reference. Suffice it to say, I was pretty nervous about this
program. Does anybody else out there get the jitters when challenged to work
with an age group outside of your comfort zone? Here’s what worked for me: rehearsing
the general flow of what I wanted to say, being prepared for different
levels of learning, and just owning what makes me, me. (A potential fourth:
making sure any tech equipment works!) The first two can take some time and
thought. The 3rd one has taken me years and is still a work in
progress. So what if I stumble over words sometimes or crack lame jokes about
cats during classes? That’s me. I’m human. Adults seem to take it in stride, so
I told myself kids would too. And if all else fails? I pretend I’m super-outgoing
Lindsay and not binge-watch-Star-Trek-on-Friday-nights Lindsay. What do you all
do to ease your nerves?
I shouldn’t have worried so much; the program was a blast!
 |
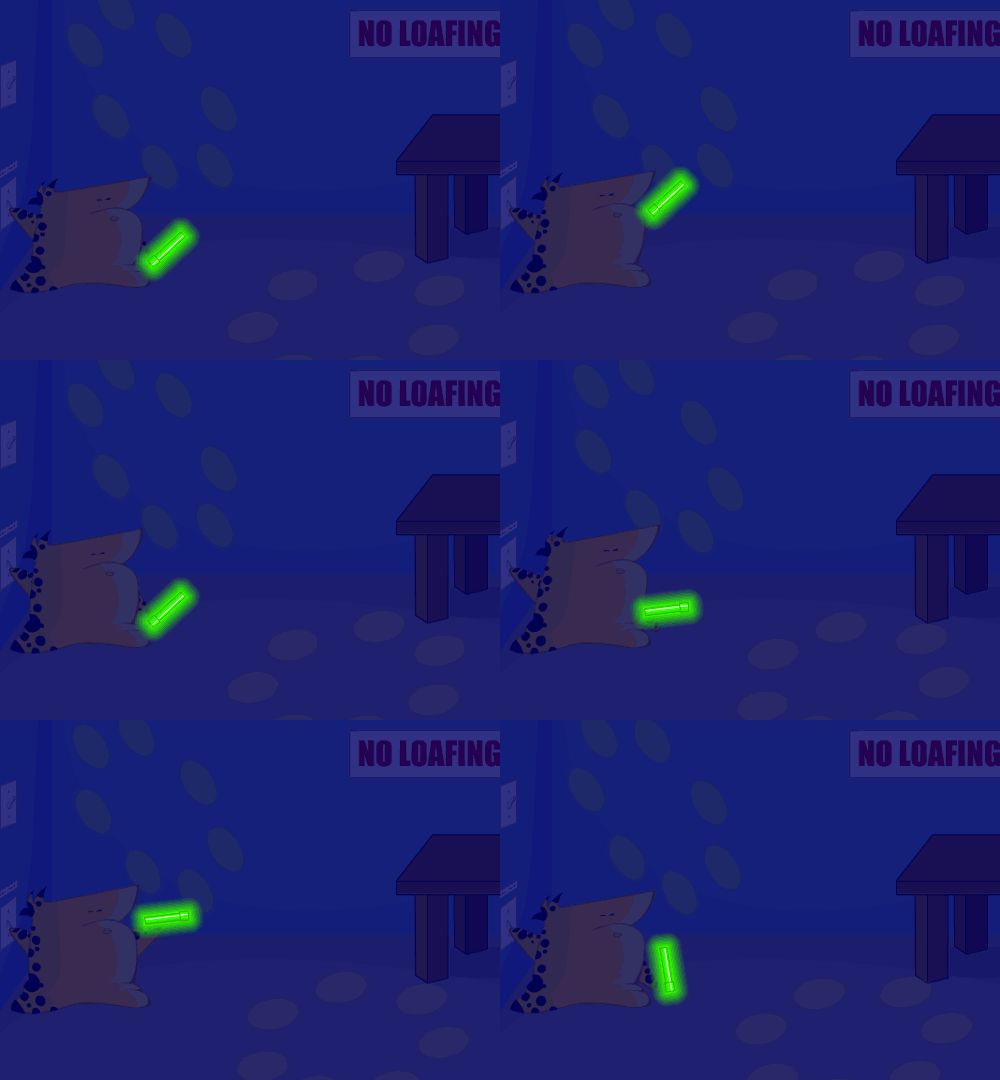
| This GIF was also Lindsay's idea. I find it extremely appropriate--Bryce |
We ran it as two half-hour sessions with a half hour break in between. We ran this app on three iPad 2s and an iPhone 3. We also had two older digital cameras; if you’re going this route, look for an option to set your camera to Tv or S mode (time value or shutter priority). We also borrowed nearly 2 dozen flash lights from coworkers. (Thanks, awesome coworkers!) Last but not least, I got the idea from this fellow ILEADer’s blog to use sheets of cellophane to change the color of the lights.
We stationed a couple of tables around the room and used book
stands to prop up the devices. Aside from Sara and myself, we had a third
coworker help during the second program, plus two teen volunteers and a handful
of day camp staffers who came in with the kids. We had 20-ish kids the first half
hour and 30-ish kids the second half hour.
The kids came in and Sara laid down the Storytime Room Laws
before introducing me. I asked the kids if they knew what light painting was
(it took a couple of guesses) and then explained how it was going to work. I
told them that unlike regular painting with paper and paintbrushes, we were
going to use flashlights and paint in the air with our light. I explained that
we needed something to record our paintings, and that’s why we had all of these
cameras in the room. I explained that, normally, a camera takes a picture real
fast – like it’s opening up its eye and then closing it again, recording
everything it saw in that second. That’s too fast for us to paint, though, so
we needed to do something special to make the camera keep its eye open longer.
I told them we were going to do a long exposure (my only tech term of the day),
which meant telling the camera to keep its eye open for 15 seconds and record
our painting. I did a live demo with an iPad connected to our projector and explained
how to use the app. Sara then split everyone up into groups stationed around
the various tables. We turned the lights down real low, gave each group a few
flashlights and cellophane, and let them play.
 |
| I'm just gonna fill the rest of this with Homestar Runner --Bryce |
With 5 minutes left, Sara rounded up all of the kids and we
told them our surprise activity: a big group picture! A teen volunteer and I
snapped a few pictures as all of the kids waved their lights around. After
that, we asked them to return their flashlights and then the day camp workers got
them back out into the rest of the library.
Here are some things to keep in mind if you’re thinking of
running a light painting activity:
· -What are you going to do with the pictures? You
might end up with a whole lot. Is it feasible to email them all out to everyone?
The app lets you email a picture right after you take it; do you want to show
this option to participants? We emailed some of ours to the day camp staff. We’re
hoping to run this again around Halloween with some sort of “make a spooky
picture/make yourself look like a ghost” theme and then use the pictures to
decorate.
· - Long exposures can be done at various lengths of
time, and it’s pretty easy to switch back and forth between them. Do you want
to show how to do this or just set everyone up with the same length of time?
· -The iPhone 3’s pictures all turned out
purple-hued. The iPads showed the resulting picture immediately, but the
digital cameras we used had a lag.
· -We had some fun “challenge” ideas for them that
never really materialized (draw a face, draw an outline of your friend, write
out words, play tic tac toe, make it look like a lightsaber battle, etc). These
might work better for a slightly older group.
· -I brought in my DSLR camera and tripod, but I ended
up not using it. With the way kids were running around, I’m glad I didn’t have
it out. It would have been a tripping hazard, plus it was stressing me out to
think of it hitting the floor accidentally. Unless you can guarantee someone
standing by it at all times, this might be something to skip.
· -Kids really liked shining the lights in each
others’ eyes and we had to repeatedly tell them not to. I highly recommend not
using laser pointers during this activity!
 |
| Or ever, probably! Our (Strong) Bad! --Bryce |
· -Glow sticks seemed like an easy and cheap
answer, but I tested them out beforehand and they didn’t record well for me.
They might work better in a truly dark room.
· -Propping up the devices on book stands could go
either way. I propped them up because long exposures can use all the stability
they can get; I was envisioning hands-free picture taking. In reality, though,
the propped-up height was too tall to fully capture the kids’ movements. It
worked out well enough to have kids or adults holding the devices.
Has your library run a light painting program yet? Do you
have any tips or tricks to share? All in all, I thought this was a very fun
program that was easy to run. We borrowed the supplies we needed and the kids
understood how to run the app very quickly. There are also plenty of
opportunities in this kind of program to modify how techie you want to get,
both in the language you use and in the options you provide to your
participants. Thank you again to Sara for letting me join the fun!
I just want to reiterate that this entire awesomeness was created by a free app and a flashlight. Holy crap. --Bryce


No comments:
Post a Comment